DIY Sensory Light Box for Hours of Play & Learning
DIY Sensory Light Box for Hours of Play & Learning
Judy Benz Duncan, Occupational Therapist
TheraPlay4Kids.com - Share!
Sensory light boxes provide hours of visual sensory input, learning experiences, and are just great fun!
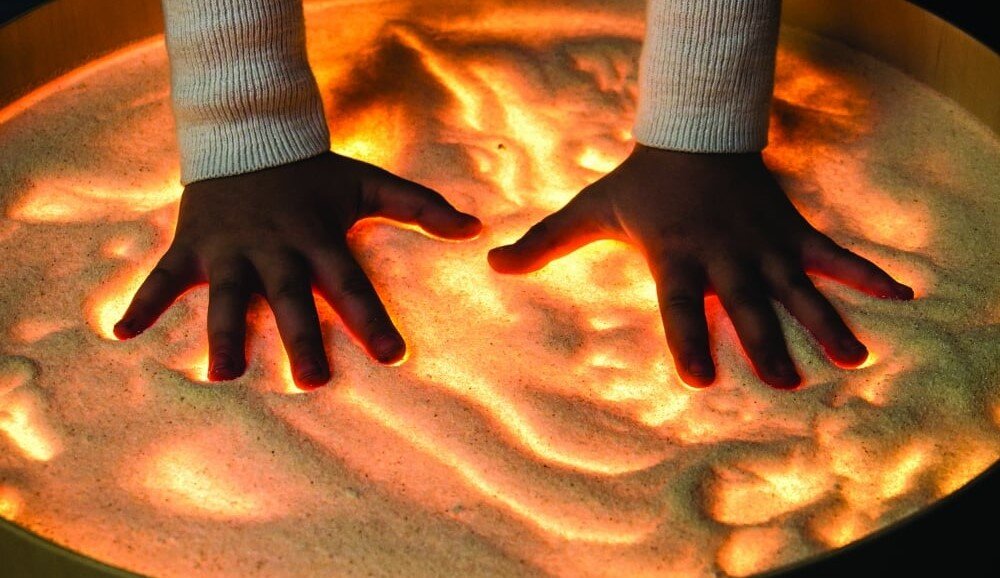
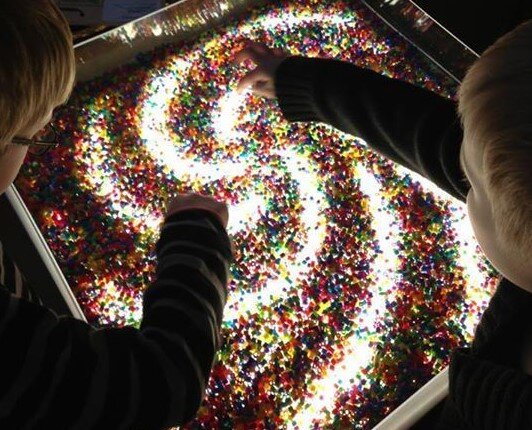
The gentle glow of light shines upwards and creates opportunities for playing and learning with color and light. Using translucent media help children to learn using a whole new sensory experience and can add a magical element to child’s play, encouraging curiosity, exploration, and problem-solving.
Make your own sensory light box today!
TheraPlay4Kids.com - Share!
What You Need for DIY Sensory Light Box
Under-the-bed style clear storage box. Try to find a large flat one with a snap-on lid (a large flat one that fit under the bed is a good size)
2-3 Sheets of White Tissue Gift-Wrap Paper
Aluminum Foil
Clear Tape
LED puck lights (push on when you want them) OR String of LED holiday lights with their own battery pack
Extension cord: optional if you are using plug in lights (will need to cut a hole in side of tub to run the cord through)
Gather a Variety of Translucent Play Materials. Having a variety of items available will keep this activity interesting and you will find your sensory light table will get a lot of use!
TheraPlay4Kids.com - Share!
Suggested Media List:
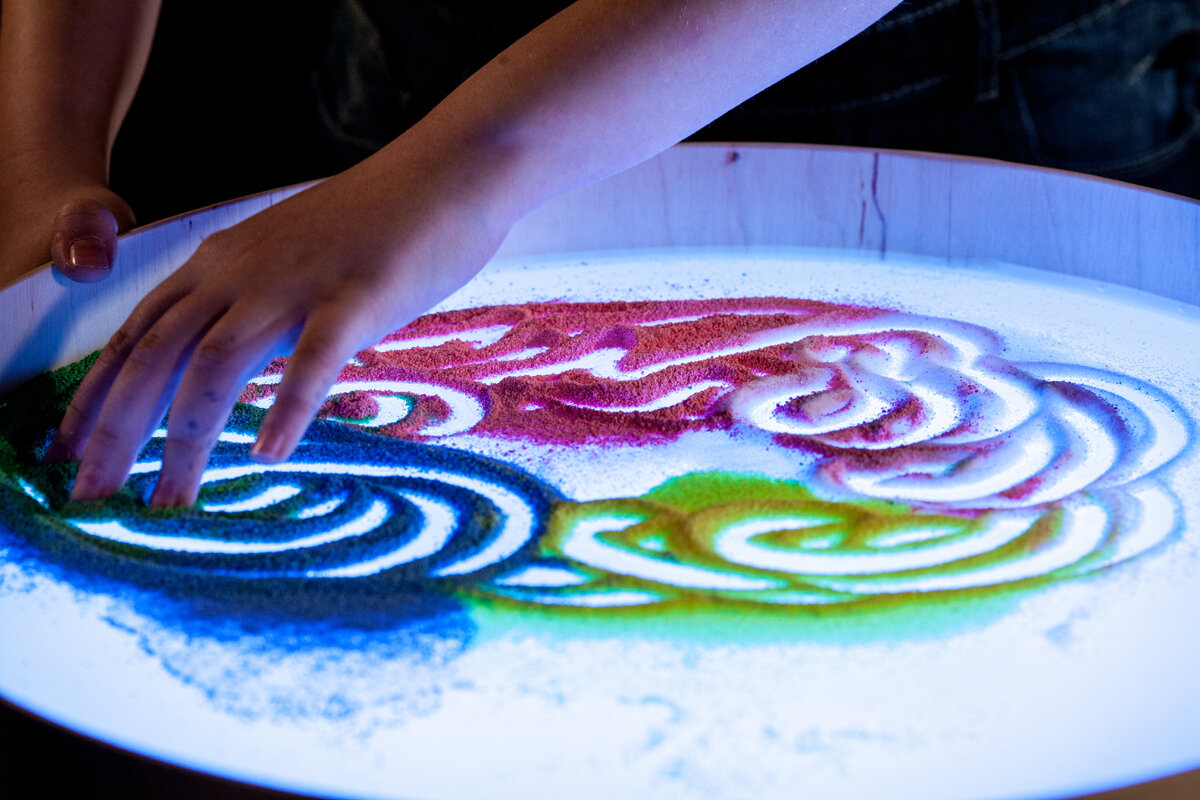
1. Sensory Sand Play (use one color or a variety to stir, mix, and slide around)
2. Sensory Sand Foam / Floam (Click for Blog on how to make)
3. Colored plastic translucent discs
4. Colored translucent plastic stacking cones
5. Finger paints (with brushes, sponges, etc)
6. Plastic translucent parquetry pieces
7. Colored translucent plastic rings (costume/play bracelets, shower rings, arts/crafts supplies)
TheraPlay4Kids.com - Share!
8. Variety of translucent marbles
9. Translucent floral “rocks” that are used in a vase (can often find at the $$ store in pre-packaged bags of individual colors)
10. Translucent alphabet letters, numbers, and shapes
11. Tracing paper – put over a simple design, shapes, lines, letters, etc, that your child can then trace over with a marker, crayon, or their finger
12. Oil and colored water play (in a flat glass pan/dish placed on top of light table)
13. Light Table Bubble Timers (you can find on-line – CLICK for a non-affiliate link to a variety of bubblers)
TheraPlay4Kids.com - Share!
14. Magna-Tiles (translucent or glow in the dark)
15. Translucent plastic cubes and stacking blocks
16. Sensory Feely Bags (Click for DIY Feely Bags)
17. Sensory Geletin Play (Click for DIY Ideas on TheraPlay4Kids.com)
TheraPlay4Kids.com - Share! —————- Sensory play with colored sand and light box
18. Water Beads – Put in a large flat pan/dish with an edge to keep the liquid contained for easy clean up
19. Variety of craft products (feathers, silk flowers, decorative add-ons like butterflies, pom-poms, and the list is endless!)
20. Look on-line for kid light table accessories for more media and product ideas!
21. Check out the $$ store for similar items that may be much less expensive yet still work just great! You never know what you may find at the thrift store and at yard sales as well!
22. What else can you come up with? Share in the comments below!
TheraPlay4Kids.com - Share! ———— Use of magnetic wand and metal ringed “bingo chips” on light box
What to Do:
TheraPlay4Kids.com - Share!
Line the inside of the tub with aluminum foil for good light reflection
Line the underside of the lid with 2-3 sheets of white tissue paper and use clear tape to keep it in place; The tissue paper helps diffuse the light and disperses it more evenly across the top of your light box, as well as “hiding” the light source below; use clear tape as masking tape may leave distracting spots where the light does not shine through the paper
Place the push-on LED puck lights around the bottom of the tub – you can use some double stick tape underneath each one to help hold in place. Depending on the size of your box you want good light coverage so you may want to use 6 to 10 LED puck lights. If you’d rather, you could use a string of LED holiday lights laid out around the bottom of the tub – you will either choose lights with a battery pack or cut a hole in the bottom side of your light box to run the cord through. Put the lid on, and you are ready to Play! The plastic lid makes for easier clean up, and if one becomes damaged, it is fairly easy to buy just the lid itself as a replacement.
Gather up the items your child will be using and let them enjoy this new play experience.
Line inside of tub / box with aluminum foil to increase light reflection
LED Puck Lights spread around box bottom. Use double sided tape to stick light to foil at the bottom of the tub. Spread around for good light coverage. Use 6 - 10 LED Puck lights depending on the size of the tub used
White tissue paper taped to underside of tub lid - If you do not want to use LED Puck lights, you can use String of white fairy type or LED lights with cord run through hole cut in side of the tub
Please Share with credit to TheraPlay4Kids.com
Thank you for your support!
TheraPlay4Kids.com - Share!


