Get Slimed! Sensory Slime is the Way to Go!

It’s Slime Time!

Sensory Slime is the Way to Go!

Judy Benz Duncan, Occupational Therapist

sharon-mccutcheon-0_TfrmpYVs0-unsplash.jpg

Sensory Slime is a great fun activity and sensory integration tool to use with your child. Many slime recipes include ingredients that may not always be safe for your child to use, so it is a great idea to make your own slime at home. Making your own sensory slime is easier than you think, and you control exactly what is in the mix.

Some slime (purchased and homemade) includes borax or eye-drop solution. While borax is generally considered safe to handle when diluted, some kids inevitably put the stuff in their mouth! Borax is a common ingredient in many household cleaners and laundry detergent, and has even used in bug sprays and fire retardants.

The recipes given here on TheraPlay4Kids.com are kid friendly, kid safe, and do not contain borax or other chemical substances that your child could be sensitive to.

slime2.png

As with any sensory activity, never force a child to participate. You may need to present an activity numerous times before they will interact, accept, or tolerate the item or activity. Continue to offer the experiences and activities giving the child some control as to whether or not they will participate. For some children, just being next to and looking at certain items is a start.

If your child withdraws or becomes overwhelmed with any of the activities or media presented, move on to something else! Your child may only tolerate one or a few of the ideas suggested – remember it’s trial and error and giving your child some control over what they will work with will help in preventing sensory overload.

1524052856_maxresdefault.jpg

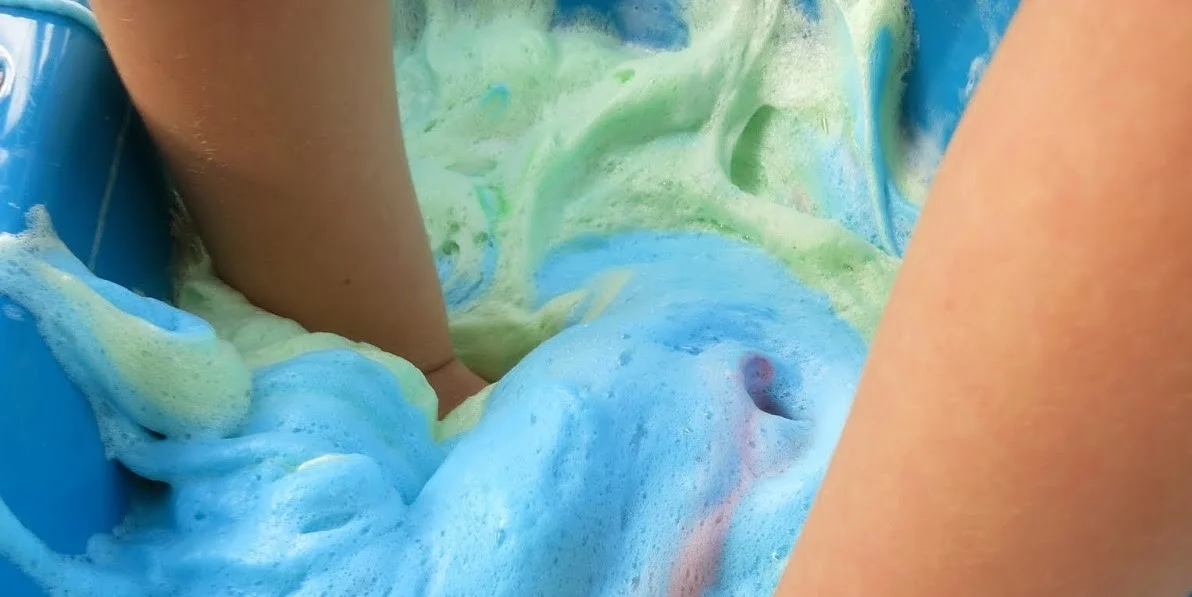
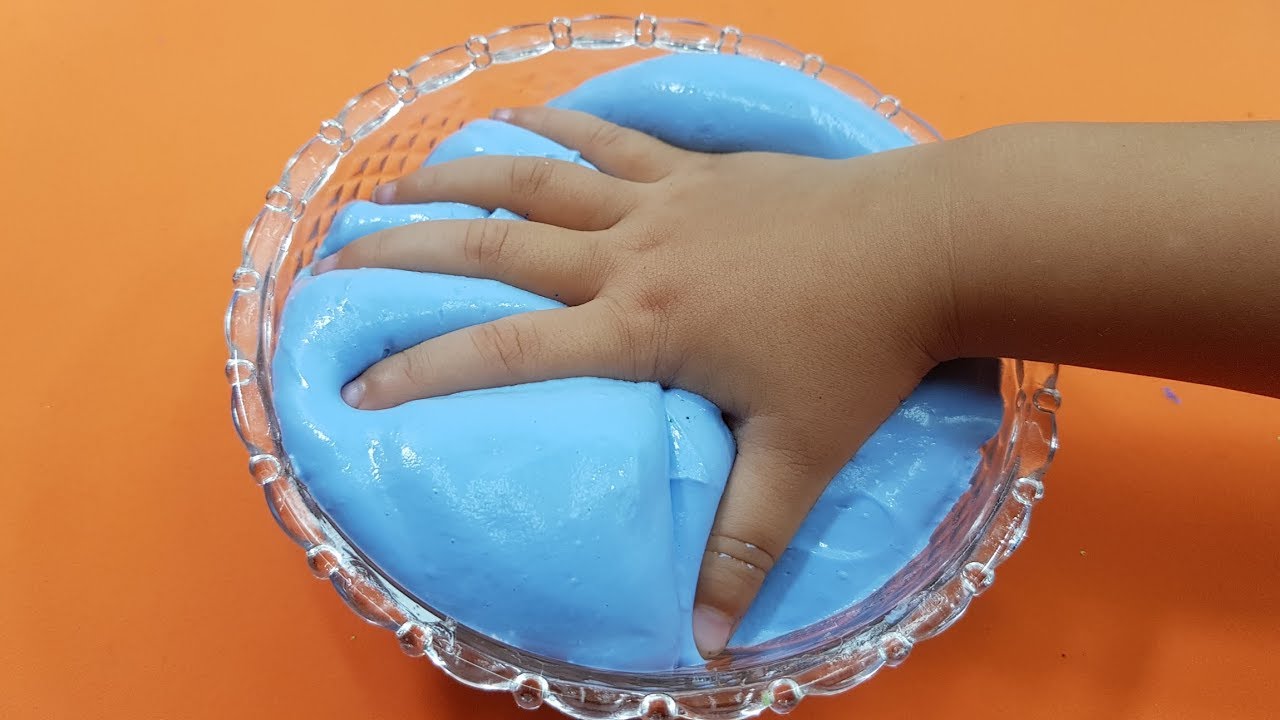
Check out the different types of sensory slime you can make at home. You may want to try a variety for the fun, play, and added sensory experience. Please share with credit to TheraPlay4Kids.com

Slime recipes include:

o   Basic Edible Sensory Slime

o   Cornstarch Based Edible Sensory Slime

o   Edible Sensory Gummy Bear Slime

o   Edible Nutella Brand Sensory Slime

o   Edible Chocolate Sensory Slime

o   Sensory Soap Slime

o   Color Changing Sensory Slime

o   Sensory Flubber Slime

o   If you are ready, let’s Get Slimed!

1524052856_maxresdefault.jpg
Edible-Slime-620x330.jpg

Basic Edible Sensory Slime

While this slime is not meant to be eaten, it is safe to eat, so if your child puts it in their mouth, takes a bite, or swallows it, it is kid safe.

What you need:

  • 14 oz. can of sweetened condensed milk

  • 1 tablespoon of cornstarch (per can of condensed milk)

  • Food coloring or a little unsweetened powdered drink mix (purple, red, orange, and so on) – add a small amount at a time to get the desired color results

  • A couple of drops vanilla or other flavoring, if you would like (for flavor and for aroma)

  • Saucepan

  • Mixing utensil

  • Storage container if keeping

What to do:

o   In a saucepan stir together the milk and cornstarch

o   Put stove on low heat (adults only for the heating process please!)

o   Stir and slowly heat until the mixture thickens

o   Remove from heat

o   Stir in the coloring and any flavorings

o   Allow the slime to cool

o   Enjoy – time to play and taste if they want!

o   When finished playing with this slime toss it out or be sure to store it in a sealed container in the refrigerator (keep for only a day or two)

o   Note: If you added and food coloring or colored drink mix, keep the slime away from surfaces which could be stained or colored, such as clothing, carpet or upholstery.

1524052856_maxresdefault.jpg

maxresdefault (1).jpg

Cornstarch Based Sensory Slime

This is a simple and easy recipe that is kid friendly for tasting!

What you need:

o  Cornstarch

o  Water

o  Food coloring or unsweetened drink mix packages if you would like to add some color

o  Flavoring (food grade) as desired

o  Mixing bowl

o  Utensils to stir the mix

o  Storage container

What to do:

o  Get bowl ready

o  Add 2 cups cornstarch

o  Add 1 cup water

o  Add food grade coloring and/or flavors

o  Mix it up well

o  Change the consistency to your likening by adding either a little more cornstarch or a little more water

o  Add any coloring agents at this time

o  Time to play with it!

o  Refrigerate and do not keep more than a day or two

Options: For NON-EDIBLE USE: Add texture as you mix the slime up – you can add hard seeds, glitter, sequins, whole oats, and the like. When adding food based substances toss out when done playing with the slime for safety.

1524052856_maxresdefault.jpg

brooke-lark-fFQ19Vz_Mu8-unsplash.jpg

Edible Sensory Gummy Bear Slime

This is a fun, easy to make slime that is safe to taste and maybe even take a bite of!

What you need:

1 cup of gummy bears or other gummy critter

2 tablespoons of cornstarch

2 tablespoons of powdered sugar

Heat safe /microwave safe bowl

Mixing utensil

What to do:

Place gummy critters in microwave safe bowl

Adults only for heating please!

Heat for just 10-15 seconds

Stir, stir, stir

Heat again in 10-15 second time frames until good and gooey looking

Once gooey-melted, stir in powdered sugar

Stir in cornstarch to mix

Stir until your gummy sensory slime forms a ball-type shape in the bowl

Use your hands to finish smooshing and mixing when it is too tough to use a spoon to stir with

Add a little dusting of cornstarch to the mixture to keep it from sticking to your hands

o   Allow the slime to cool

o   Enjoy – time to play and taste if they want!

o   When finished playing with this slime toss it out or be sure to store it in a sealed container in the refrigerator (keep for only a day or two)


1524052856_maxresdefault.jpg

slime3.jpg

Edible Nutella Brand Sensory Slime Ingredients

Here is a fun and tasty sensory slime that your kids may love! You can use Nutella as it is easy to find and use, otherwise you can use good old-fashioned chocolate syrup. Remember these edible slime recipes are not to just sit around and snack on, but rather they are kid safe and friendly for kids who happen to taste and eat!

What you need for Nutella Sensory Slime:

o   12 oz. Bag marshmallows 

o   3-4 tablespoons Nutella  

o   ¼ cup of canola oil  

o   2-3 cups powdered sugar

o   Large microwave safe mixing bowl

o   Measuring cup

o   Mixing spoon

o   Freezer paper (so it won’t stick to table or counter)

What to do:

o   Put bag of marshmallows into the large bowl

o   Add 1-2 tablespoons of canola oil

o   Adults only for heating please!

o   Place in microwave and melt for 30-60 seconds watching carefully

o   Add Nutella to melted marshmallow/oil mixture and mix it all together

o   Spread out the freezer or parchment paper onto the counter

o   Sprinkle the powdered sugar onto the paper

o   Place the mixture on top of the sugar

o   Knead the sugar and slime mixture together making sure it is mixed well

o   Add the rest of the canola oil and mix up again

o   Time to play and taste test!

o   Refrigerate in a sealed container, keeping only for a day or two

o   Note: Chocolate can stain so wear old clothes, an apron, and keep away from furniture and items that stain easily

1524052856_maxresdefault.jpg

chocolate-slime-recipe.jpg

Edible Chocolate Sensory Slime Ingredients

Here is a fun and tasty sensory slime that your kids may love! You can use good old-fashioned chocolate syrup. Remember these edible slime recipes are not to just sit around and snack on, but rather they are kid safe and friendly for kids who happen to taste and eat!

What you need to make Chocolate Sensory Slime:

o   Medium sized sauce pan

o   Mixing utensils

o   14-oz can of sweetened condensed milk

o   2 tablespoons chocolate syrup

o   1 to 2 tablespoons cornstarch (to thicken)

o   Plastic storage container

What to do to make the Chocolate Sensory Slime:

o   In sauce pan slow heat the milk, chocolate syrup, and cornstarch

o   Adults only for heating please!

o   Stir and mix as the ingredients thicken in the sauce pan

o   A little more cornstarch will make for a thicker slime, while a little more milk will make for a runnier slime

o   Remove from heat when you have the consistency you like

o   Allow to cool

o   Time to scrap out of the pan and play and taste! Enjoy!

o   Store in a plastic container in refrigerator for only a day or two

o   Note: Chocolate can stain so wear old clothes, an apron, and keep away from furniture and items that stain easily

1524052856_maxresdefault.jpg

How to make rainbow soap slime.JPG

Sensory Soap Slime – Good Clean Fun!

Sensory soap slime is easy to make, fun to play with, and is just good clean fun that you can even use right in the bathtub! Needless to say, this version is NOT EDIBLE!

What you need:

o   Jar or container to store soap pieces

o   Leftover pieces of soap (from bars of soap, or pieces you’ve chopped off a whole bar of soap)

o   Water

What to do:

o   Place soap pieces into the jar or container

o   Using soap with color will make it more fun and exciting to play with

o   Cover the soap pieces with water

o   Let sit for a couple of days

o   Mix it up to make sure all the pieces of soap have dissolved into the water

o   Slime time!

o   Since this slime is soap based – just let it wash away down the drain when done playing with it.

o   Note: This is runnier slime and great for use in the bathtub. This is not edible! Also if your child gets in their eye, rinse out right away. You can use all natural soaps, and tear-free soaps if you would like.

1524052856_maxresdefault.jpg

wbd-1-1.jpg

Color Changing Sensory Slime

For those that want to experiment a little more, you can try making color changing, heat activated sensory slime. It is actually fairly simple to make, but does require a few specific ingredients that you may have to find in a hobby/craft store or online. This version is NOT EDIBLE.

What you need:

o   3 teaspoons of non-toxic thermochromic pigment

o   ¼ cup white school glue

o   1 tablespoon of water

o   ¼ cup of liquid starch

o   Food coloring (color of your choice)

o   Large mixing bowl

o   Mixing utensils

o   Storage container

What to do:

o   In mixing bowl combine the glue and water

o   Sprinkle in the non-toxic thermochromic pigment and mix it all together

o   Add food coloring if you would like

o   Add the liquid starch, using a spoon, or your hands

o   Keep in a sealed container in the refrigerator for only a day or two

o   Note: Food colorings and pigments can stain, so wear old clothes, an apron, and keep away from furniture and items that stain easily

o   Note number 2: Keeping in the refrigerator and then using will give more dramatic color changing effects due to the quick temperature changes

o   Note a third time: Using the pigment will make the slime change from one color to a second color, not a whole bunch of colors; adding food coloring to the slime mixture will help to expand the colors that you see during the heat activated changes

1524052856_maxresdefault.jpg

maxresdefault.jpg

Sensory Flubber Slime Ingredients

This slime comes out with a floppy flubbery feel. While it is kid safe for taste testing, it probably will not win any taste test awards!

What you need:

o   Microwave safe bowl

o   Mixing utensils

o   1 teaspoon of soluble fiber (Metamucil or similar)

o   8 oz of water

o   Food coloring (optional, but does add some fun and excitement to an otherwise bland looking slime)

o   Flavoring (food grade) if you would like to make it more “tasty”

o   Non-stick cookie sheet

o   Parchment paper / freezer paper to put on top of cookie sheet

What to do:

o   Ready microwaveable bowl

o   Add 1 teaspoon of soluble fiber

o   Add 1 cup / 8 oz of water

o   Add 1-3 drops of food coloring or powered colored drink mix

o   Add flavoring (like vanilla if you’d like)

o   Mix up well

o   Adults only for heating!! This is HOT HOT HOT!

o   Microwave mixture for 4-5 minutes OR until it looks like it is going to bubble out of the bowl

o   Let the slime flubbery stuff cool

o   Repeat microwaving again until it bubbles up again

o   Let cool and check consistency

o   Repeat the microwave and cool process total of 5-6 times (the more times you heat and cool, heat and cool, the more flubbery it gets)

o   Do not let mixture overflow the bowl at any time

o   Pour / scrape mixture onto the covered cookie sheet

o   Spread out the mixture

o   Allow to cool

o   Peel off pieces or cut off pieces; cut into cool shapes

o   Get Flubbered!!!

o   Note: Sensory Flubber Slime can be stored at room temperature for several months, or keep its flubbery goodness in the refrigerator in a sealed container


1524052856_maxresdefault.jpg

Do you have any kid friendly, taste safe slime recipes to share?

If you would like more ideas for sensory slime leave a comment!

Join our Facebook group!

Thanks for your support of TheraPlay4Kids.com – Like and Share!

Edible_Playdough_1.jpg