
Learning How to Use Scissors:
Judy Benz Duncan, Occupational Therapist
TheraPlay4Kids.com
Developing Pre-Scissor Skills to Promote Snipping/Cutting Ability in Fine Motor and Bilateral Coordination Performance
Proficient scissor use requires foundational components such as postural stability, hand strength and dexterity, hand-eye coordination, bilateral integration, sensory integration, sequencing, rhythm, and attention. These are skills that are also needed for success in play and learning.
Cutting with scissors requires an incredible amount of coordination and is often a frustrating task for children to effectively learn. Cutting with scissors involves the ability to use both sides of the body at the same time to do two different things.

TheraPlay4Kids.com
Cutting with Scissors Involves Many Developmental Elements
Cutting involves a lot more than just picking up a pair of scissors and learning how to hold them or open and close them.
Your child needs to be able to sit up appropriately and have good balance and stability. Slouching while cutting will not work. And when a child feels unbalanced, it will make holding the scissors very difficult.
They also need stable shoulders with wrist and finger control, including being able to isolate the thumb and the fingers in order to grasp and release the scissors.
Bilateral coordination, or using both sides of the body together is crucial to cutting. Using both hands together means the dominate hand opens and closes the scissors while the non-dominate hand or “helping hand” hold the paper and rotates it as needed.

TheraPlay4Kids.com
Skills generally expected to be in place before they learn to use scissors include having a good foundation and basic skills in the following areas:
o Using a fork or spoon for self feeding
o Being able to open and close their hand in basic coordinated manner
o Be able to use their hands together on a task or activity (such as holding a container with one hand while removing the lid with the other)
o Being able to show the ability to isolate movements of their thumb, index finger, and middle finger
o Be able to effectively use their whole arm so that their arm (from shoulder to wrist) is not wiggling all over the place, and so that they can demonstrate some control over their movements
o Being able to follow simple directions
o Being able to be safe with their behaviors
TheraPlay4Kids.com
Other Basic Bilateral Coordination Tasks and Life Skills That Scissor Cutting Skills Improve on Include:
o Grasp and use of a pencil, crayon, or marker in pre-writing tasks (the same muscle groups needed to correctly hold a pencil/crayon, are similar to those needed to use scissors - the ring and pinky fingers are tucked underneath to act as support - practicing scissor skills do transfer over when learning handwriting skills)
o Opening up an envelope, food package, tearing paper off a straw
o Buttoning a coat, sweater, or jacket
o Twisting the lid off a carton of milk or juice container
o Being able to peeling their own orange or banana
o Being able to use a fork and knife to cut their food
o Learning to tie their shoes
TheraPlay4Kids.com
Development of Scissor Skills usually occur over time and follow a basic sequence
While children all progress and learn at different rates and stages, in general they will learn in the following stages (general ages are added in, although if your child is not ready yet, they are not ready!)
Approximately at and after 18 months of age they may learn how to hold a pair of scissors, often with both hands to open and close the scissors.
After they understand how the scissors work, they may then try to place their fingers in the loops and make cutting attempts. Very often kids will put their index and middle finger in the loops, but not the thumb. It will take time, practice, imitation of following your teaching, and improved ability to use their hands effectively.
They may try to cut “upside down” with their hand turned down and around – give them cues as to how to better hold the scissors by showing them how you do it, and then giving hand-over-hand assist
TheraPlay4Kids.com
By 2 years of age they may be expected to make one snip at a time
By 3 years of age they may be able to snip along a line, making numerous small snips to complete the cutting task
By 4 years of age they may be able to cut along a wide straight line for about six total inches or so, staying within a reasonable distance from the line; With a curved line, they may be able to follow the curve with many small snips as they keep trying to adjust to the curve or angle. If presented with a large drawn circle, they may be able to make a rough cut out of the circle, where the edges are not smooth, but the shape is still recognizable as a circle.
By 5 years of age they may have moved up to being able to cut out shapes that include squares, triangles, circles, usually staying within ¼” to ½” of the drawn line; They may also be able to cut out pictures from magazine pages (usually easier to remove the page and then let them cut so they do not have to manipulate the entire magazine)
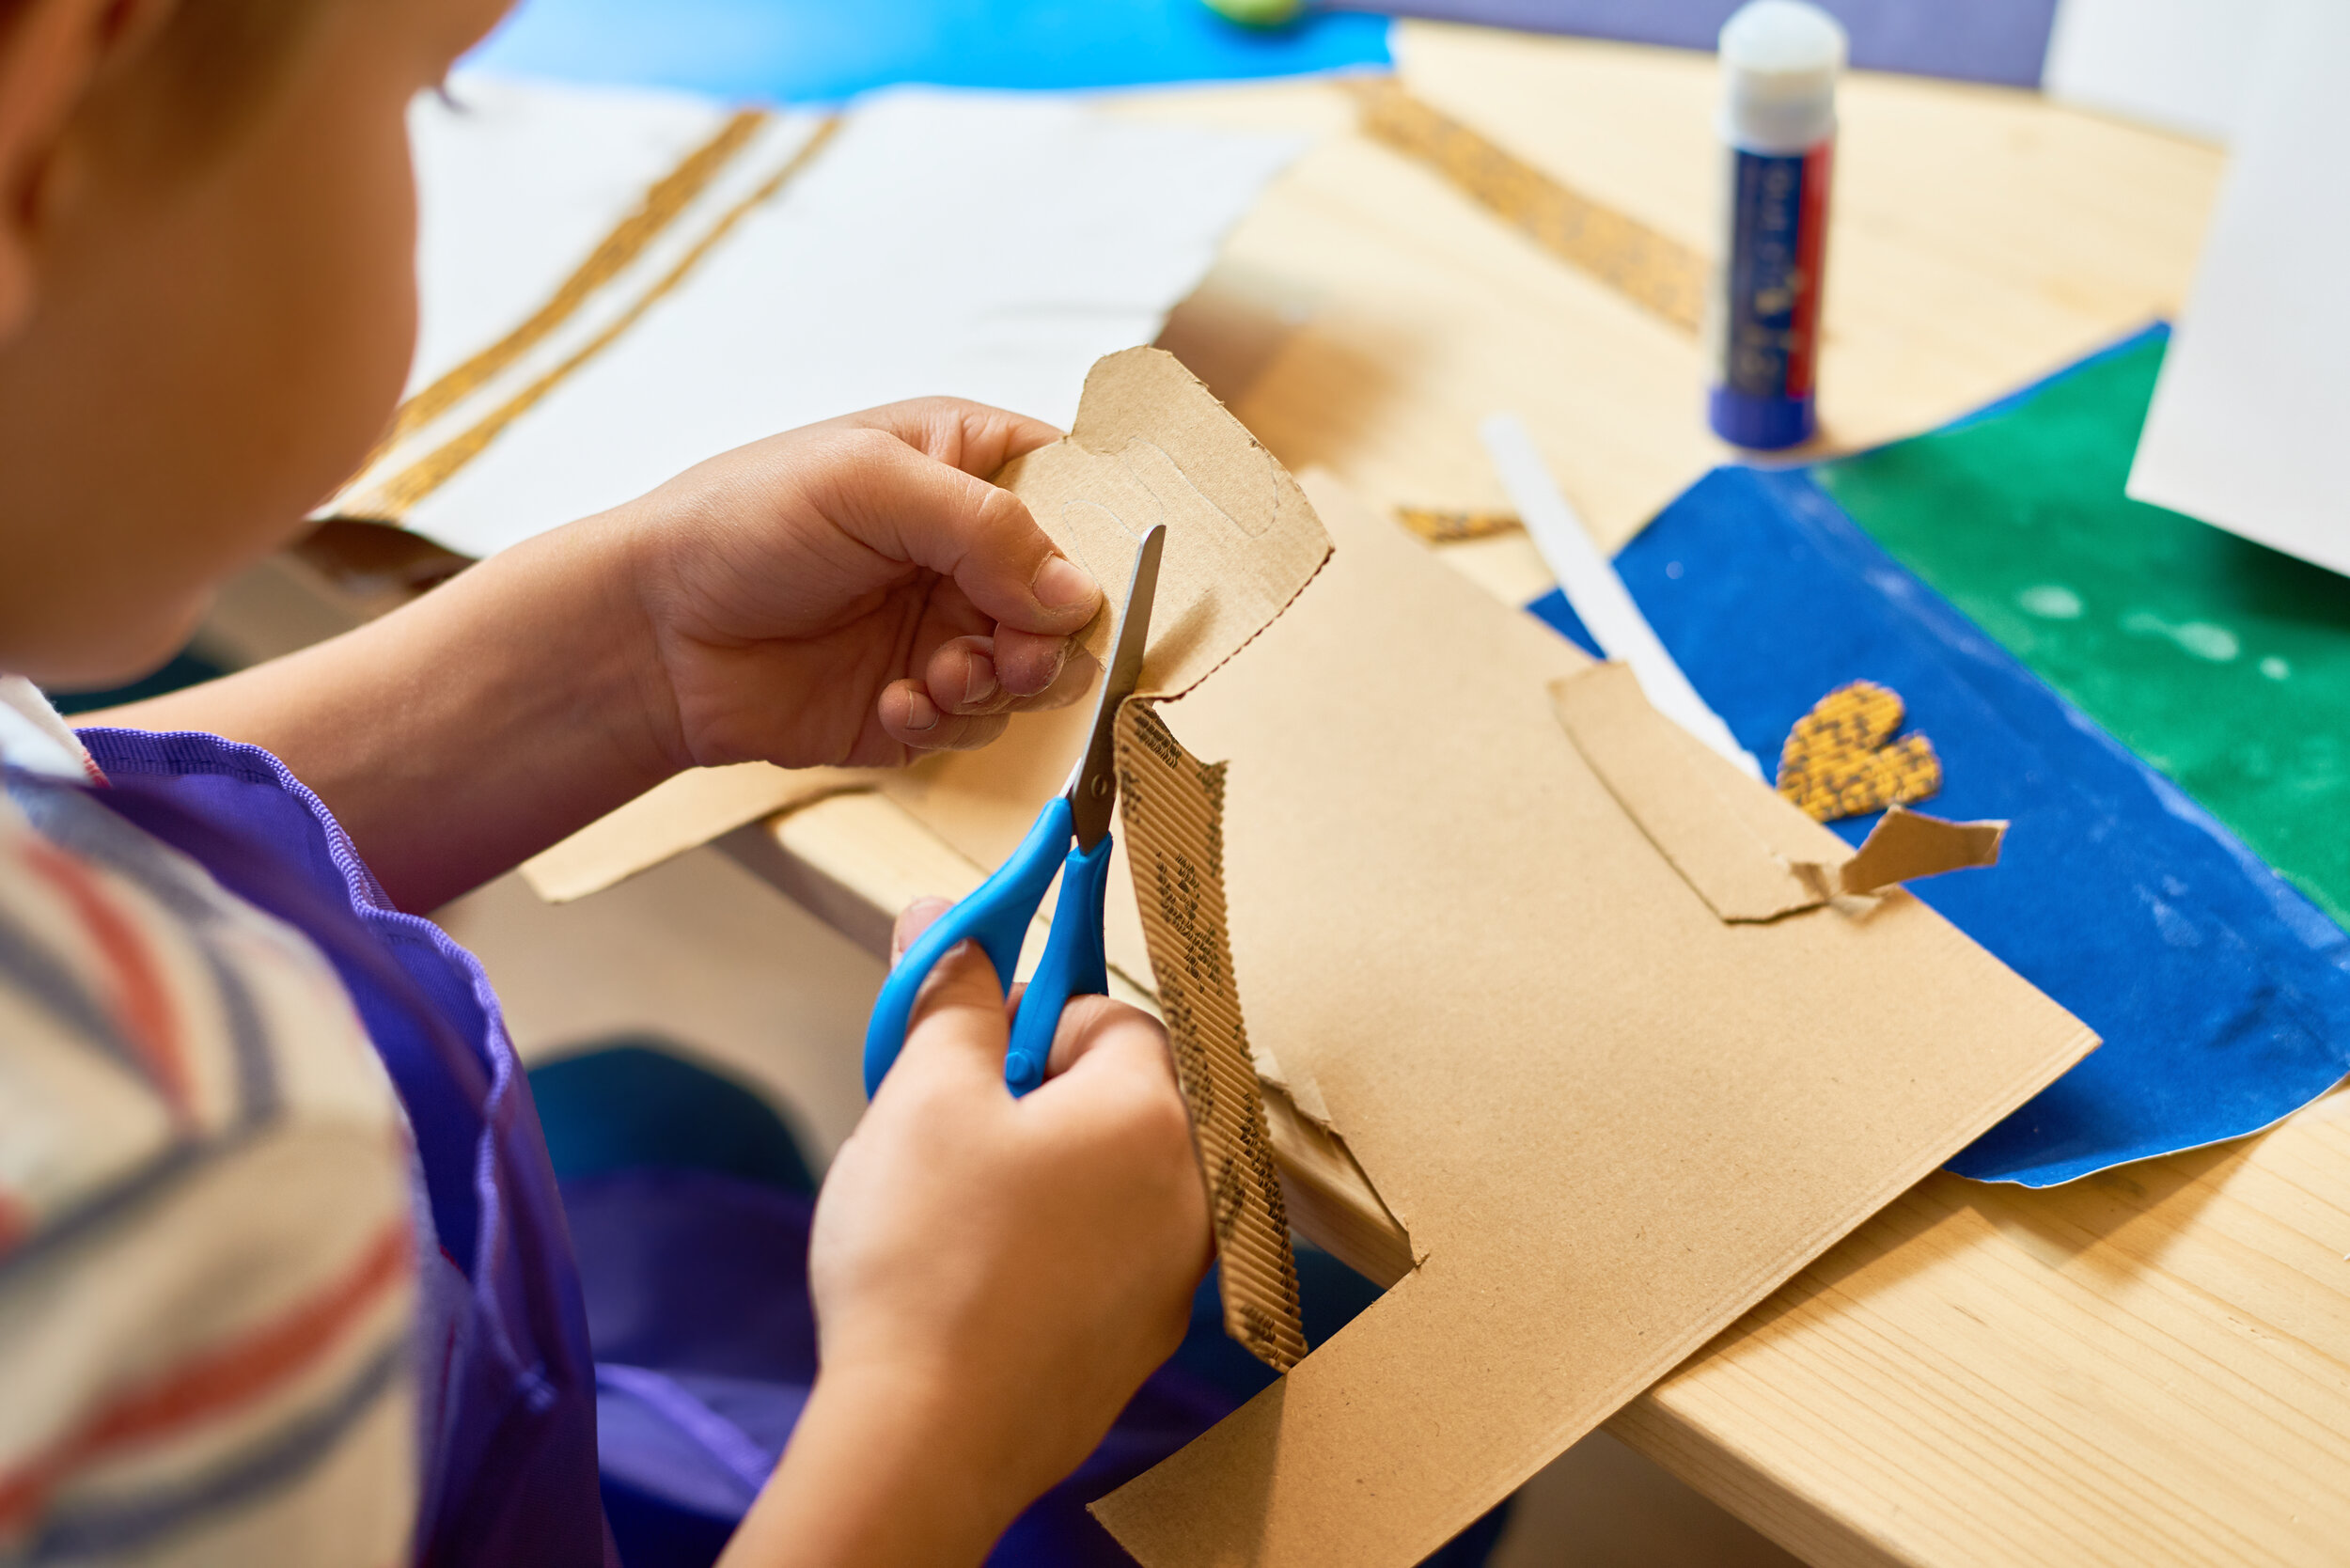
By 6 years of age they may be able to cut through a variety of materials, moving up from paper, to construction paper, to thin cardboard, to different textures and weights of material / cloth. When cutting through these other materials, sharper scissors are generally needed, so provide close supervision, cues, and direction for safety. Their ability to cut more on-the-line improves, as well as their two-handed ability to manipulate, turn, and stabilize the material being cut.

TheraPlay4Kids.com
Developing Correct Grasp on Scissors
The most efficient way to hold a pair of scissors for cutting is to have the thumb in the top loop, the middle finger in the bottom loop (they may have room to put the middle and ring finger in the loop), and then having the index finger underneath the bottom loop helping to stabilize and help control use of the scissors.
When holding a pair of scissors for the first time reinforce your child’s hand position by getting them to do the ‘thumbs up’ sign. Since the thumb needs to be “on top” give reminders on the correct way to hold the scissors each time you practice with a “thumbs up.”
You may want to put a small sticker on your child's thumb so that they can look at it before they start cutting, giving them a visual clue as to which way their thumb should be. You may also want to put a small piece of tape or a sticker on the “thumb hole or loop” so they know which scissor loops their thumb goes through.
If your child needs a little more help in keeping their arm and hand in the proper position, you may want to use a beanbag or flat “squish pad” to help support and position their hand / arm during cutting tasks and practice learning times.
TheraPlay4Kids.com
Here are some activities you might want to try with your child, that cover:
1. Pre-scissor activities to
2. Developing grasp-release motion, to
3. Scissor learning activities
Pre-scissor Activity Ideas
o Use salad tongs to pick socks off the floor one at a time and put in laundry basket.
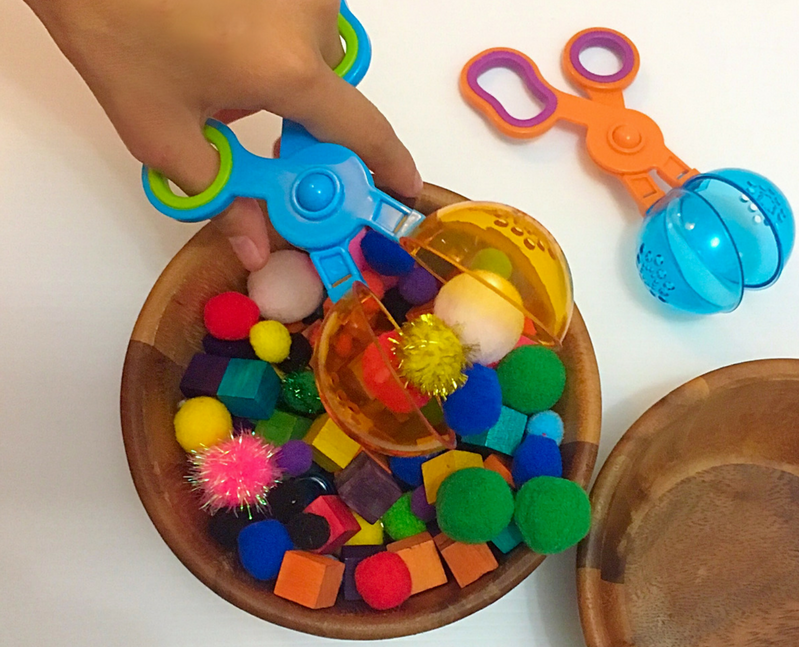
o Use salad tongs to drop cotton balls, game pieces, thimbles, spools of thread, etc. into a box or bowl
o Use small tongs or large tweezers to pick up tiny things like raisins, beads and rolled up pieces of paper and move them to another container
o Place loose and easy to open clothes pins all around the edges of a shoe box
o Use a turkey baster or medicine pipette to squirt water in the bath, or outside to help “water the plants”
o Use a paper hole-puncher to grip and squeeze, punching out multi-colored “spots” from a variety of paper sources (construction paper, magazines, junk mail, etc)
o Tear up all sorts of paper (wrapping, construction, paper grocery bags, newspapers, magazines, and so on)
o Get your child to pinch his thumb and index finger all the way along a playdough “hot dog,” or “roll” to make indentations.
o Make a sock puppet with your child and get them to open & close his mouth to pretend feed it or to “make it talk or sing. Even a sock with goggle eyes stuck on will work when it’s all good pretend play.
o Spin a top using their thumb and 2 fingers
TheraPlay4Kids.com
Developing Grasp Release Hand Motion
One of the first stages in learning how to use scissors is to master the grasp and release motion needed to open and close the scissors.
Some fun activities to help your child get the hang of this motion without using scissors follow:
Using Spray Bottles
o Let your child use a spray bottle (use various sizes) to help water plants outside, spray in the bath, or try to fill up little cups and bowls with the sprayed water
o The action of squeezing and releasing the trigger helps your child get the hang of a repetitive grasp release motion using their whole hand
o Fill the spray bottle or bottles with washable coloring, hang up some white drawing paper or construction paper, and let them “spray paint” an abstract picture
o Using the colored water in the spray bottles, have your child try to spray inside the lines of a large drawn circle, or other shape, on a piece of paper, OR spray just plain water on drawn shapes (with chalk) on the sidewalk or driveway

TheraPlay4Kids.com
Clothes Pin Activities
o Opening and closing a clothes pin can help a child feel the squeeze and release motion that is needed for scissors – you can try different types and sizes of clothes pins for variety and to promote the ability to manipulate and functionally use their fingers and hand in different situations
o If they need to use all of their fingers to squeeze and place the clothes pins, that’s ok – with practice they can work down to using their thumb and 3 fingers, then thumb and 2 fingers, and even their thumb and just one finger
o Use a clothes pin to pick up small pieces of crumpled paper, pieces of yarn, standing domino’s, or other small objects, and transfer them over to a container where they can “release” them
o Let your child hang small items, like a wash cloth, a sheet of paper-towel, socks, and so on, on a line strung at his or her level – they will need 2 hands for this, or you can help out by holding the item in place while they use the clothes pin
o Have your child place the clothes pins around the edge of a box or container without a lip or edge to have to work around
Scissor Time Learning Activity Ideas
TheraPlay4Kids.com
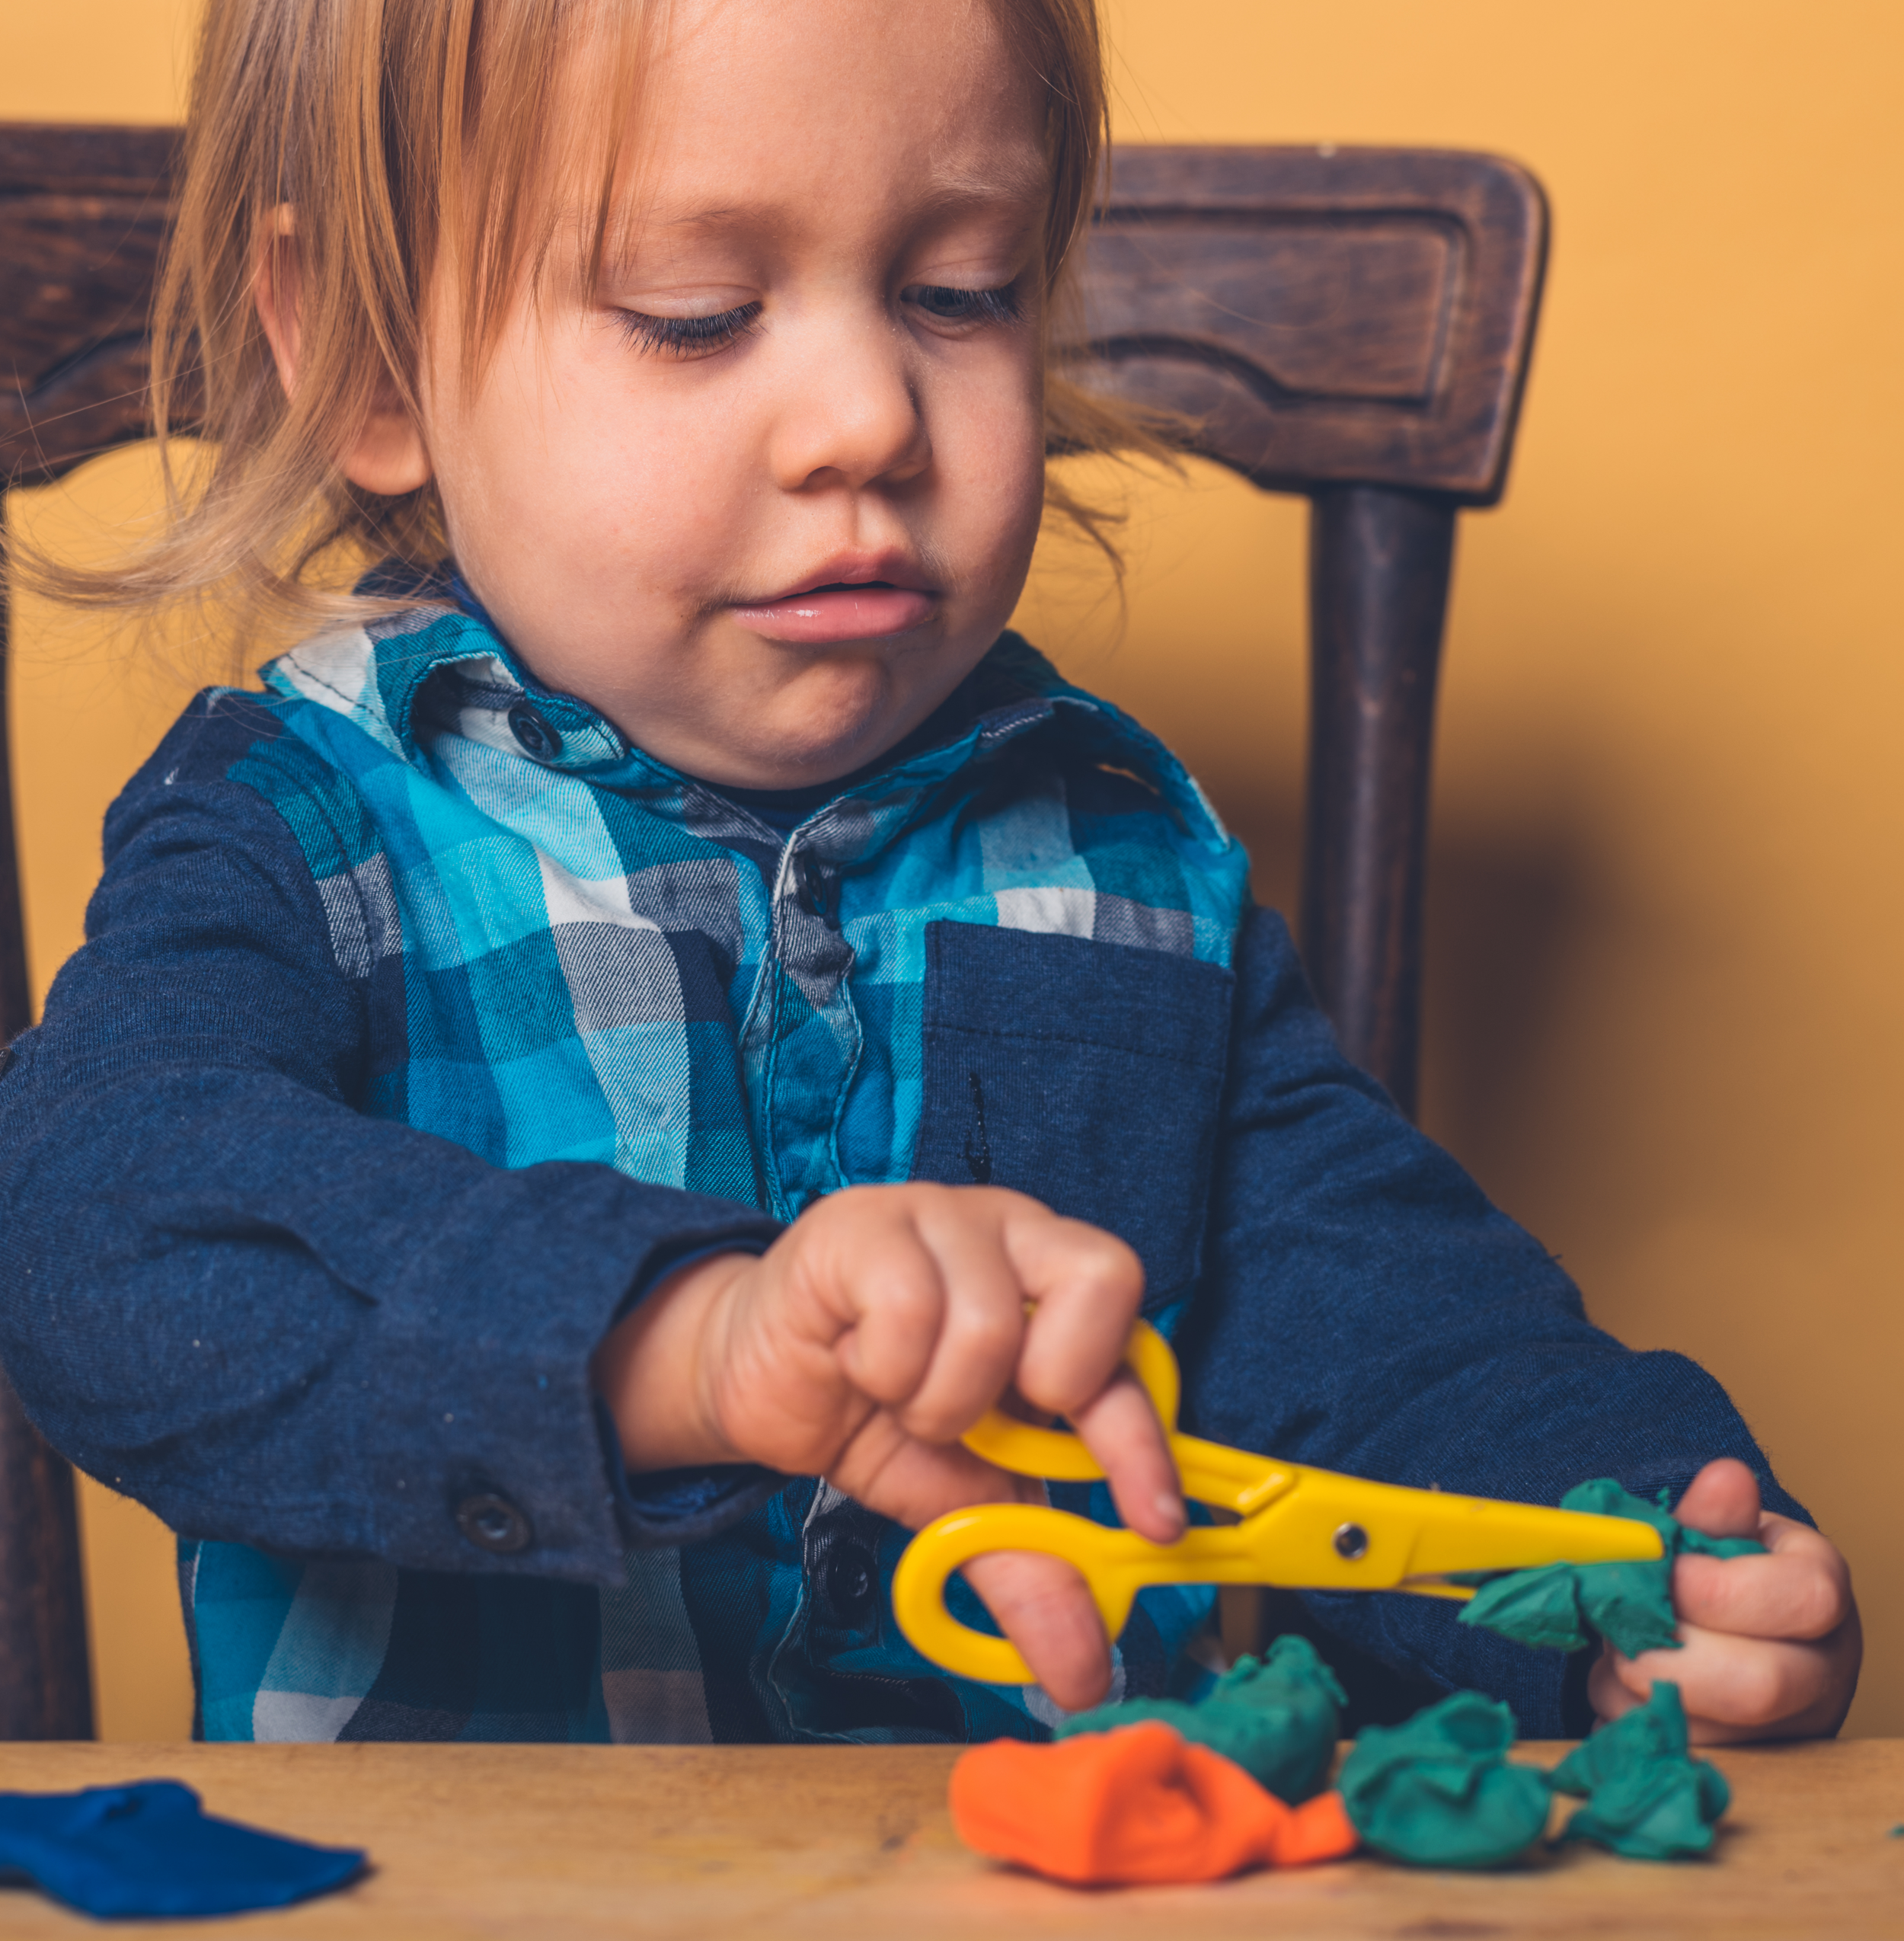
Use hand-over-hand assistance as needed when getting started. Opening scissors is often more challenging than closing them. If the scissors are too big for their hands or they have weakness they may need some help opening them each time when first starting out. Once open, your child may be able to close them to make a snip or cut and this will give them a sense of pride and accomplishment by being able to “cut all by themselves.”
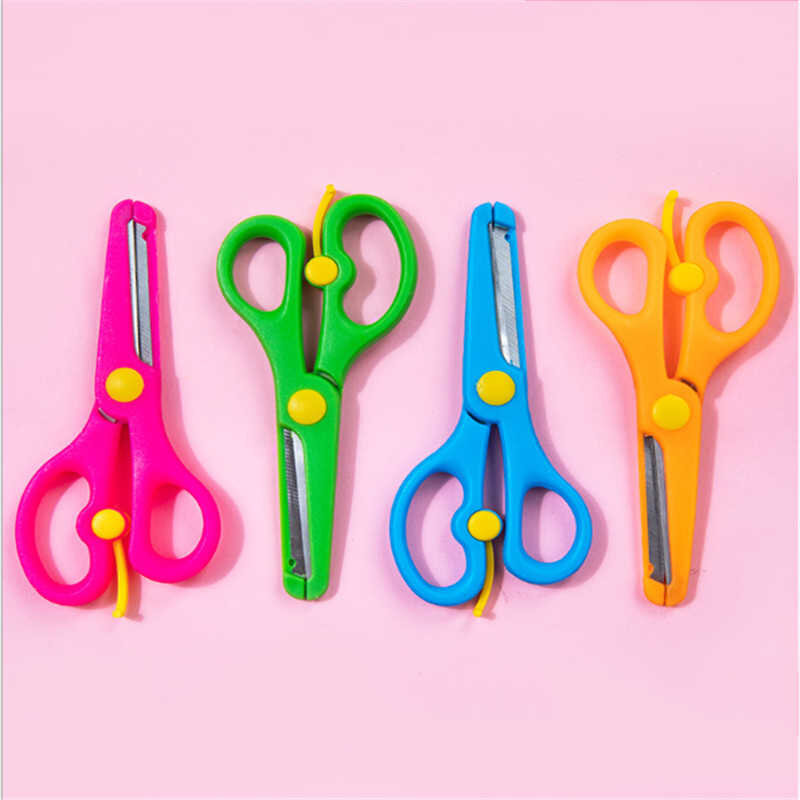
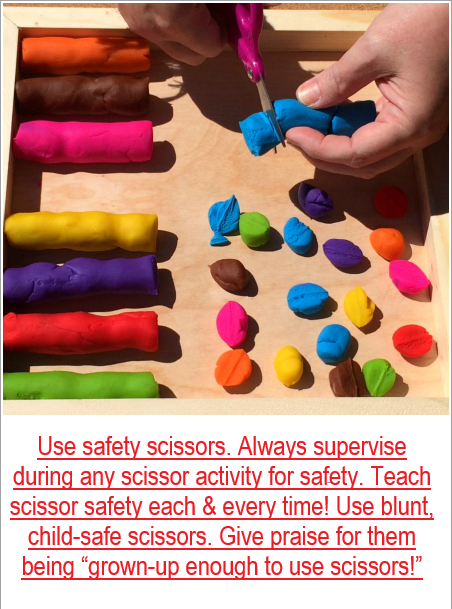
NOTE: Use safety scissors. Always supervise during any scissor activity for safety. Teach scissor safety each and every time! Use blunt, child-safe scissors. Give praise for them being “grown-up enough to use scissors!”
Some fun, learning activities to help your child develop their scissor skills follow:
TheraPlay4Kids.com
o Ask your child to snip through playdough which you have helped roll out into a hotdog shape; long and skinny is easier than short and thick to cut through; have them cut the rolled out playdough into pieces with their scissors
o Lay out a variety of plastic or paper straws (alter color or design for variety); have your child cut the drinking straws into pieces to make “beads.” This can be turned into lacing the beads to make a necklace or bracelet – use colored or designed straws to make it more fun.
o Gather up some thin pieces of cardboard, old cards, index cards, or heavy construction paper. Have your child to snip along the edges or cut into each piece as best they can. Let them snip off bits and pieces in any pattern or direction just to get the feel of snipping and cutting.
o Let your child help in snipping up junk mail – since we all seem to get a lot of this you will probably have an unending supply!
o Place stickers along the edge of some “firmer” paper and let your child pretend to “chomp” the sticker in half with the scissors. As your child gains skill you can place the sticker further in on the paper so that they have to cut farther in order to get to the sticker. You can use a marker to draw a guide line across the paper.

TheraPlay4Kids.com — Snip some paper cupcake liners and turn them into something else!
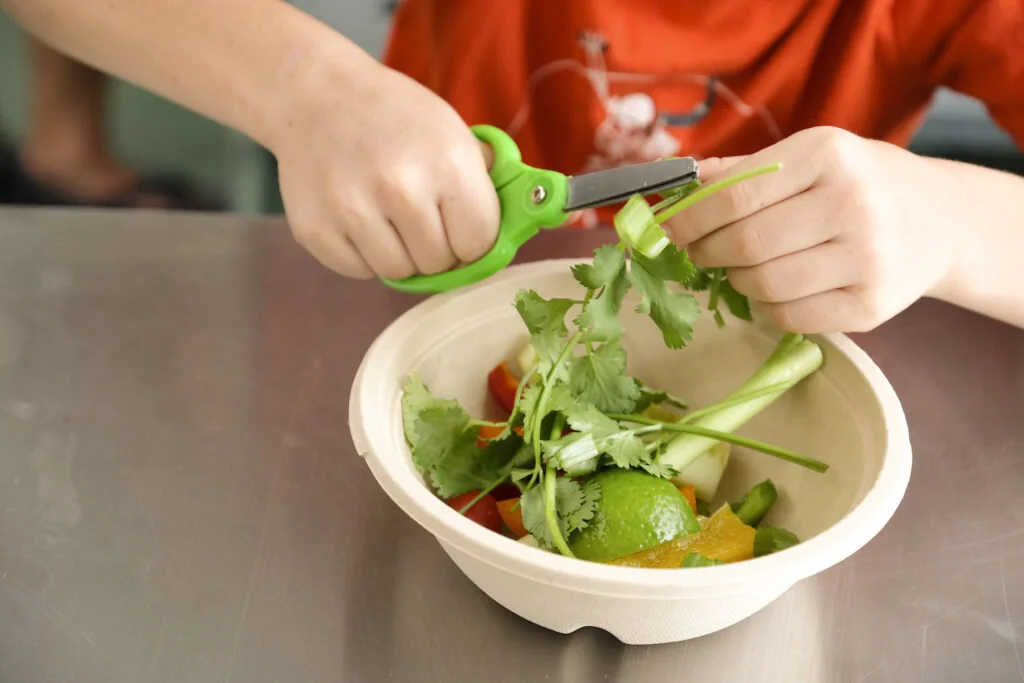
o Use scissors to snip soft food, like a banana, cucumber strips, green beans, cooked pasta/noodles, lettuce, and so on, into pieces. If you plan on letting your child eat what they cut, start with fresh made, and cleaned veggies and washed/cleaned off scissors.
o Draw easy to see wide lines on the paper – start with lines that are about ½” wide and 2-4” long, then have your child snip / cut trying to stay on the line. As they gain skill you can make the line thinner and the longer.
o Give verbal cues as they learn to make the cutting action, even when you are starting with hand-over-hand assist. Try announcing each step as they work through it, such as “open, place, close, open, push forward, and close.” Open and close is a great skill, but they also need to learn how to “place” and “push forward” to move the scissors along to cut further.
o Provide visual cues of WHERE they need to be cutting. You can make a line of stickers that they need to cut between, draw wide lines to either cut between or to cut on, cut between lines made with Wikki Stix or thin strips of playdough.
o If you can find cardboard or poster board that has ridges, or raised ridges, have them cut on the “valleys” between the ridges.
o As your child gains skill on cutting along a straight line, you can start to vary the shape of the line – start with just a slight curve, working up to more variations in the curves of the line. Rough ovals, circles, and then shapes with angles, and then round-and-round spirals come next.
o Depending on whether your child is using their right or left hand, try to make sure they are starting to cut out shapes on the correct side! Those that are right-handed need to start cutting on the right side of the shape (moving counterclockwise), while those that are left-handed need to start on the left side of the shape (moving clockwise). This gives your child a clearer view of the line and shape they are cutting and is just generally less awkward and results in an easier ability to turn and manipulate the paper.
TheraPlay4Kids.com
Give a varied experience – Let your child cut:
o fabric
o cardboard
o magazine pictures
o yarn (of various thickness)
o twine (of various thickness)
o craft and mixed media supplies (that you have selected for them)
o licorice sticks
o craft foam
o sandpaper
o cooked pasta / noodles
o small branches and/or flower stems
o veggie sticks
o putty
o junk mail
o cut through flattened paper towel or toilet paper tubes
o old brochures
o felt squares
o craft feathers
o old socks
o and the list can go and on!

Please feel free to share with credit to TheraPlay4Kids.com
Thanks for your support!

TheraPlay4Kids.com